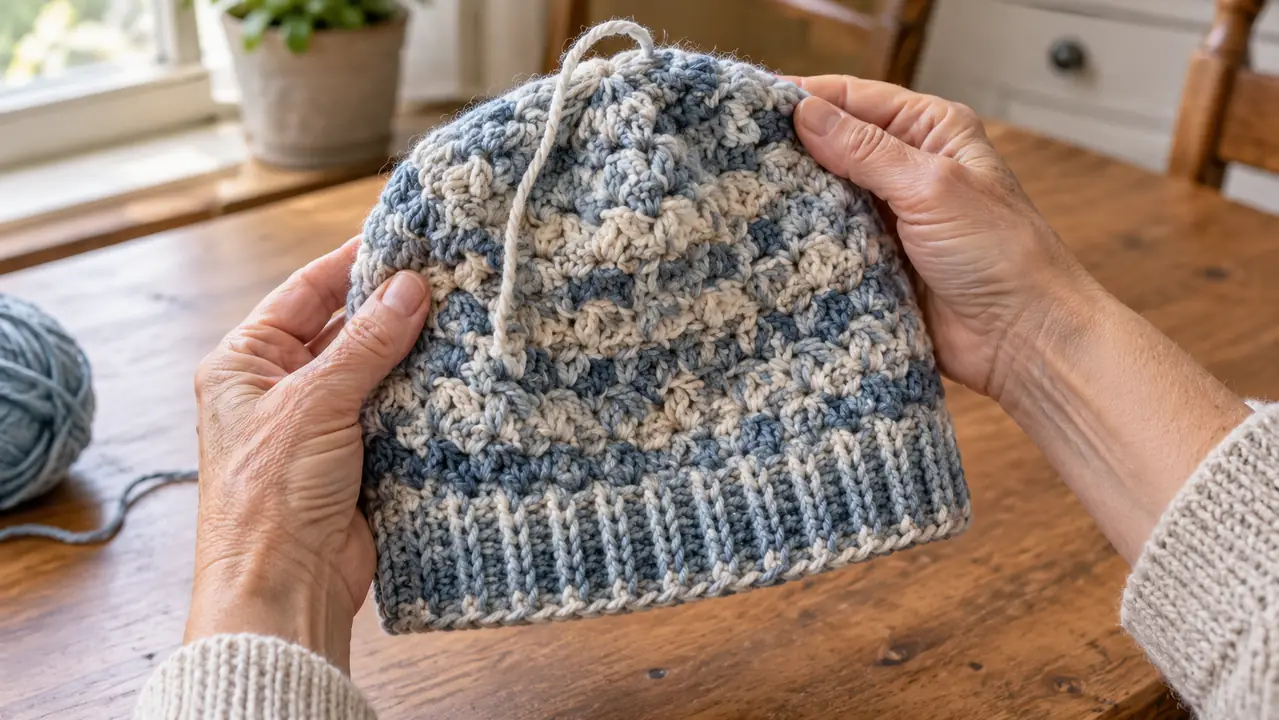
The last ten minutes of a project decide whether it looks handmade or homemade. You have a finished hat in your lap, four yarn tails hanging off it, and a needle somewhere at the bottom of the bag. I have been crocheting for about twenty years, most of it in a truck cab between loads, and I have never once finished a project and thought, good, now I get to weave in ends. Nobody photographs this part. It is also the part that decides whether the hat you hand your daughter at Christmas still has a tail poking out of the crown by February.
What fixed it for me was not a video. It was buying needles made for the job. In April 2025 I bought the FIVEIZERO 19 piece yarn needles set and retired the single plastic needle that came in my first beginner kit. The set has yarn darning tapestry needles, large eye blunt needles, two threaders and a storage box. The ones I reach for are the bent metal needles. The rest live in the box at home. What follows is the method I use now, worked out over a year and a half of dishcloths, hats, scarves and baby blankets, most of it on a thirty minute break with the engine off.
The Needles I Use for Every Tail, Not Just the Pretty Projects
Nineteen pieces, two threaders, a box that stays home. Two bent needles travel in my bag and do all the work. If your weaving needle is still the plastic one from a beginner kit, this is the change you will actually see in the finished piece.
Amazon Check Today's Price on Amazon →The Method I Use Now
Five steps, in this order. Skipping the second one is why most tails work loose. Skipping the fifth is why they look fine until the first wash.
Step 1: Leave a tail long enough to travel
A woven end holds because of friction and distance. The tail has to travel three or four inches inside the fabric before it has enough contact to stay put. If you crocheted your last stitch and snipped at an inch, you have nothing to work with, and you will end up stretching the work to force the needle through the one stitch you have left. That stretch is what makes the corner of a blanket look pulled out of shape.
I leave about six inches, roughly the length of my hand, and I do not trim anything until the whole piece is finished. On a hat worked in the round, that means a tail long enough to travel a third of the way around the band. On a blanket, it means a tail I can fold back on itself twice without running out of length halfway through.
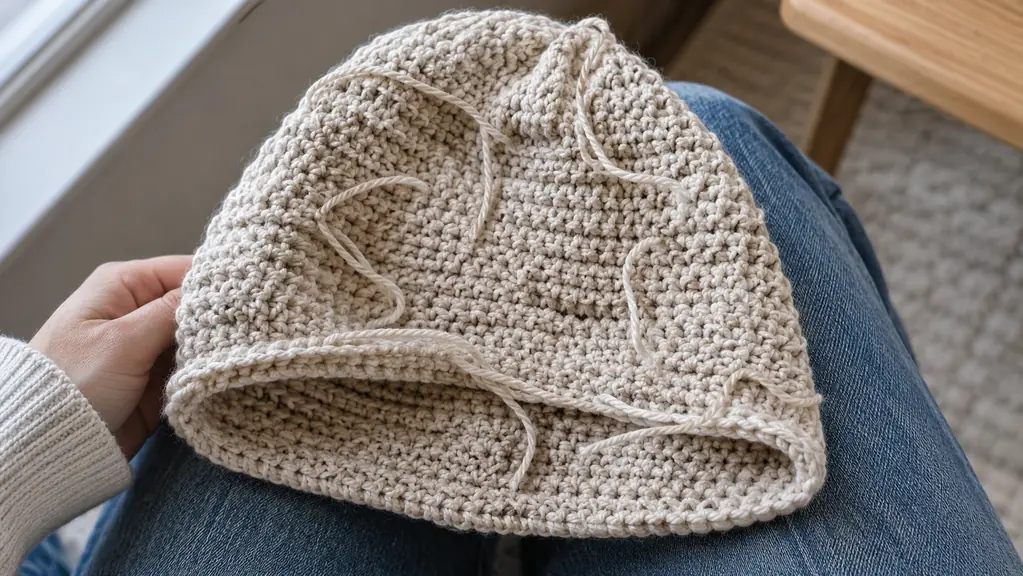
The other half of this step is turning the work. Weave on the wrong side. If you work on the right side, every needle mark you make is a mark you will see at reading distance, and a blunt needle pushing plies apart leaves a slight shadow even when the yarn matches exactly.
Step 2: Split the tail and send the halves opposite ways
This is the step people skip, and it is the step that does the actual work. Untwist the last three or four inches of the tail and separate it into two halves. You are not cutting anything, just dividing the plies. Each half is thinner, which means less bulk pushing against the fabric and more surface in contact with it. Two thin tails hold better than one thick one, every time.
Send one half up and to the left, the other down and to the right. They should never share a hole. When the fabric moves in the wash, the two halves pull against each other instead of pulling the same direction, and the ends stay buried where you put them.
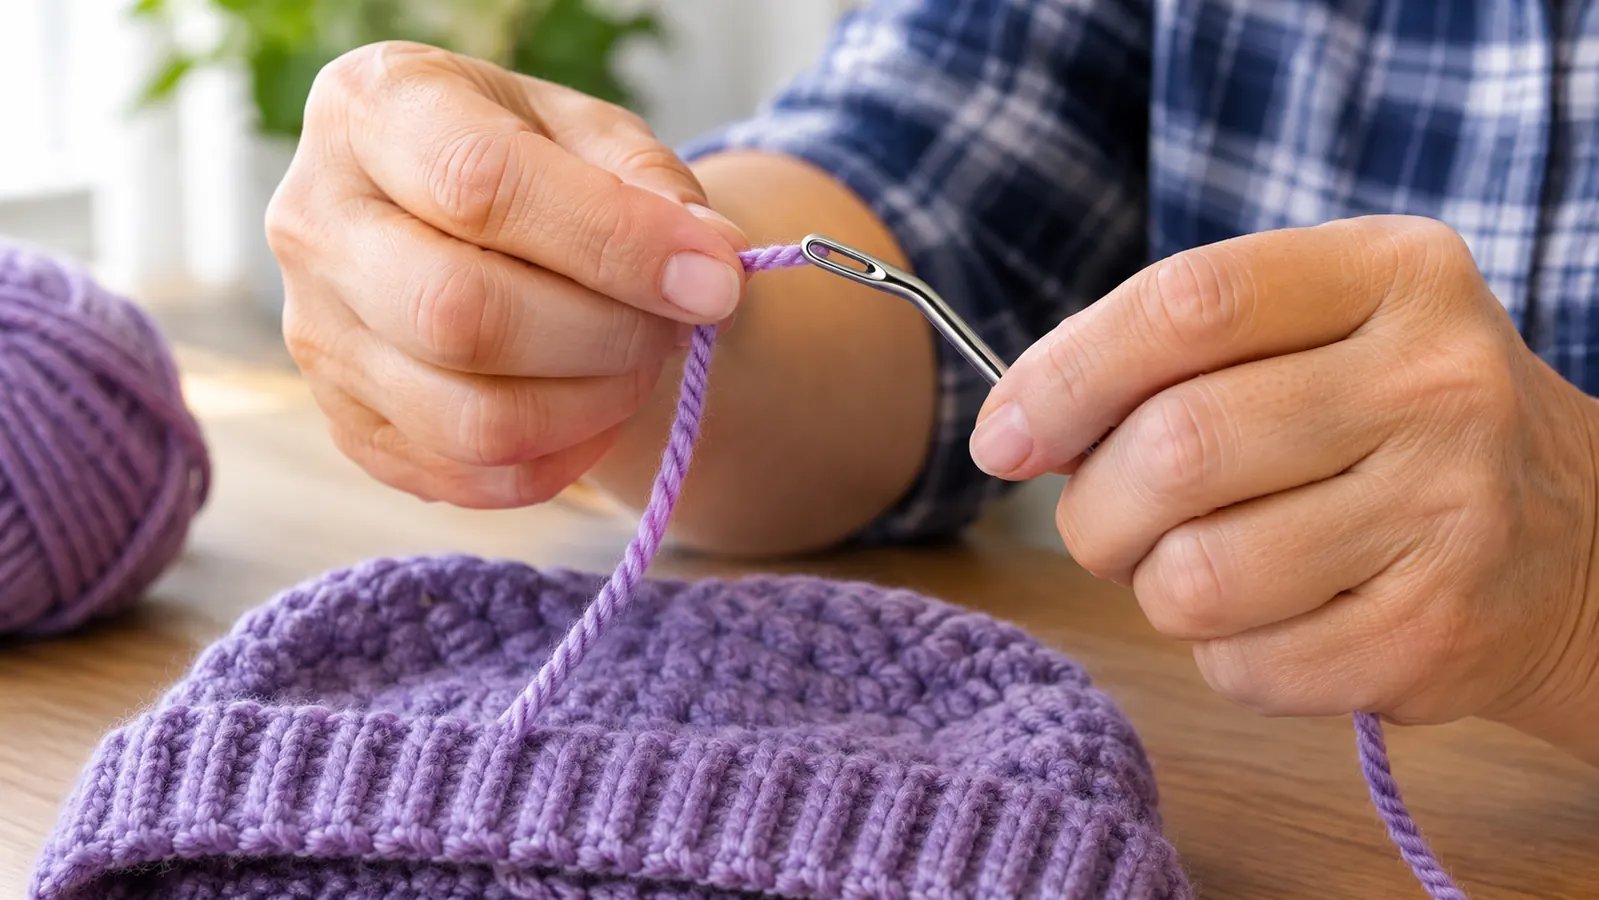
For threading, the FIVEIZERO set includes two threaders, and I use them for the plastic needles and for any yarn that fights the eye. The bent metal needles have a large enough eye that I can pinch-thread worsted weight without a threader at all. Here is the limit on those threaders: they are thin wire loops, and they bend if you haul on them. Feed the yarn through the loop gently, pull it through at an angle, and if the yarn is too thick for the wire, use the needle eye directly instead of forcing it.
Step 3: Follow the path of the stitch, not across it
The needle goes under the back of the stitch, one strand deep, travels inside the fabric, then comes out. On single crochet that means sliding under the two legs on the wrong side. On a knit-look stitch it means following the V. You are burying the tail inside the structure of the piece rather than laying it across the back where it can rub against itself and work free.
If you can see the needle from the front, you went too deep. Light will find a shadow even when the yarn matches. Stay shallow and take two or three short hops of an inch rather than one long run of four. Short hops follow the curve of the fabric. One long run cuts a straight line across it, and straight lines show when a piece is stretched over a knee or a head.
This is where the blunt point earns its place. A sharp needle splits plies, and a split ply leaves a fuzzy spot on the front of the work that you cannot repair. A blunt tip slides between the plies instead. The trade is that you cannot use it to pierce a tight stitch on purpose. If a stitch is too tight to enter, go up a needle size or work into the stitch beside it. Do not force it. Forcing is how the small holes appear.
Step 4: Reverse direction, twice on slippery yarn
After the first run, turn around and come back an inch or so in the opposite direction, offsetting slightly so you are not going back into the same holes. That U-turn is what keeps a tail from migrating out. A tail that runs straight has a clear road out of the fabric. A tail that turns has to fight its way.
How many turns depends on the yarn. Wool and cotton grab, so one reversal is usually enough. Acrylic, bamboo, silk blends and anything smooth and tightly plied get two. I would rather do a second pass and be done than find a tail working loose in a drawer six months later.
One thing to watch. Do not pull the tail tight at the end of a run. Leave a small loop and let the fabric relax before you move on. A tail pulled taut puckers the stitch above it, and on a hat band that pucker reads as a mistake from across the room. This is the step I split across breaks. I do the first run, put the work down, and do the reversal when I pick it up again. My right thumb and first two fingers are stiff after a long drive, and fresh hands make a cleaner turn.
Step 5: Wash or block first, then trim
Do not trim until the piece has been washed or blocked. Wet fabric relaxes and the tail moves with it. Trim flush before a wash and the tail can retreat into the stitch and leave a small dip, or worse, a nub that works its way to the surface. Wash the piece the way it will be washed in the home it is going to, let it dry flat, then look at the tails again.
Trim to about a quarter inch. Not flush. A hair of tail left on the wrong side will felt slightly into the surrounding stitches with wear and disappear on its own. Trimmed flush, it has nowhere to go but out.
Then run your thumb over the whole inside of the piece. Any spot that feels like a hard lump is a spot that will show through on the front after a few washes. And do not knot. A knot works loose over time and leaves a hard bead in the fabric that you can feel every time the thing is worn.
Three Mistakes I Made for Years
I knotted the tail and called it finished. It held for a season, then it did not. A knot is a lump with a short life, and when it lets go it takes two or three stitches with it. Nothing about a knot is faster than a proper weave once you have done the weave a few dozen times.
I wove on the right side because the light was better there. Then I spent an evening picking needle shadows out of the front of a baby blanket. Turn the work. If the light is bad, move to the light or buy a lamp. Do not trade the front of the piece for a convenient seat.
I snipped flush at the last stitch and told myself it would be fine. It was fine until the first wash, and then two tails showed up in the middle of a hat like they had been invited. Trimming after the wash costs one extra day. Trimming before it costs a redo.
What Else Helps
Light beats everything else. I weave ends under the reading lamp at the kitchen table, not in the cab at dusk. If you cannot see the stitch you are entering, you are guessing, and guessing is how the needle ends up through the front of the work.
A small pair of sharp scissors matters more than people expect. I use the SINGER ProSeries 4 1/2 inch scissors for yarn tails and nothing else. Not paper, not packaging, not the little plastic tags. Once scissors cut paper they stop cutting yarn cleanly, and a ragged cut on a tail is a tail that will not stay buried.
Keep the needles where you can reach them. I carry two bent needles in a mesh pouch inside the case that holds my hooks, and the rest of the FIVEIZERO set stays in its box at home with the plastic needles and the threaders. The plastic needles are not useless. They are the right tool for bulky yarn and for holding a place while you work, and they are what I hand to someone learning. They are just not what I reach for on a worsted weight hat.
A tail that runs straight has a clear road out of the fabric. A tail that turns twice has to fight its way. That is the whole method, and it is the only part that matters.
Two Bent Needles in a Pouch Is the Whole Kit You Need
The box, the plastic needles and the threaders can stay in a drawer. Two bent needles and a pair of scissors do the job. If your tails keep surfacing, the tool is the cheapest part of the fix, and the FIVEIZERO set covers every yarn weight in your stash.
Amazon Check Today's Price on Amazon →