
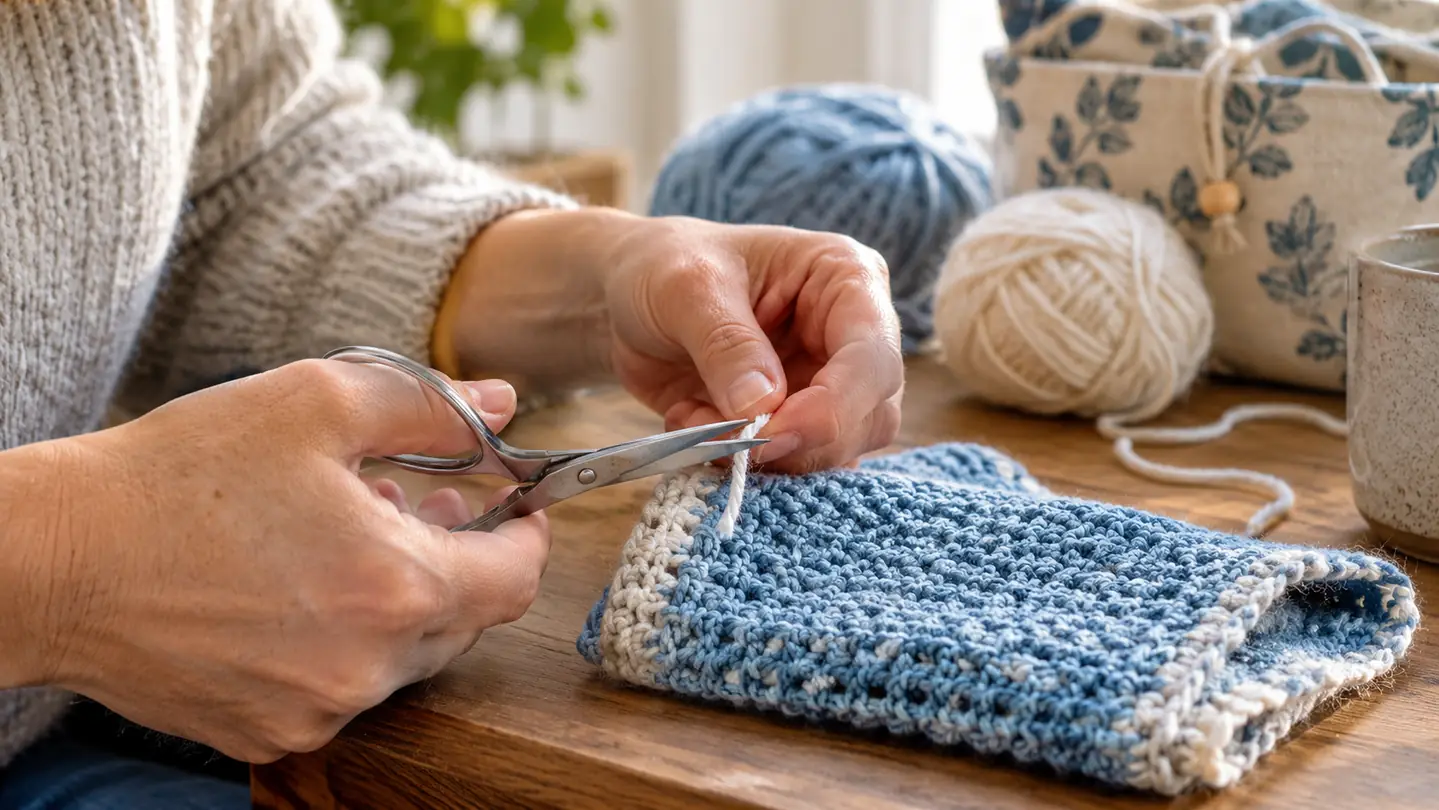
I learned to crochet at 37 from my aunt Rosa, and for the first ten years I finished every project the same way: I bit the yarn. That works until it does not. A bitten end looks frayed, it fuzzes under a woven-in tail, and on a dishcloth it can work loose after a few washes. I drive regional routes out of Visalia, California, so most of my crochet happens in a parked truck cab or at my kitchen table on the weekend. I needed a cutting tool that stayed in a small bag and opened with one hand. The pair I have used since January 2025 is the SINGER 4-1/2 inch ProSeries scissor with NANO Tip and comfort grip. It is the tool I reach for on every yarn tail, and this is how I cut and trim cleanly with it.
I am not going to pretend this is complicated. A clean cut comes down to three things: a sharp tip, a stable cutting spot, and one squeeze. The hard part is doing those three things the same way every time, especially on a 30 minute break when the light is not great. The SINGER scissors are 4.5 inches long, with stainless steel blades, a straight blade edge, rubber handles, and an ambidextrous design. That last part matters if you share a table with a left-handed friend or if you switch hands when your right thumb gets stiff. They are small detail scissors, not fabric shears, and they are not meant to cut through a whole skein or a length of bulky yarn. Used for tails and trims, they do the job.
A clean tail takes one squeeze, not a tug
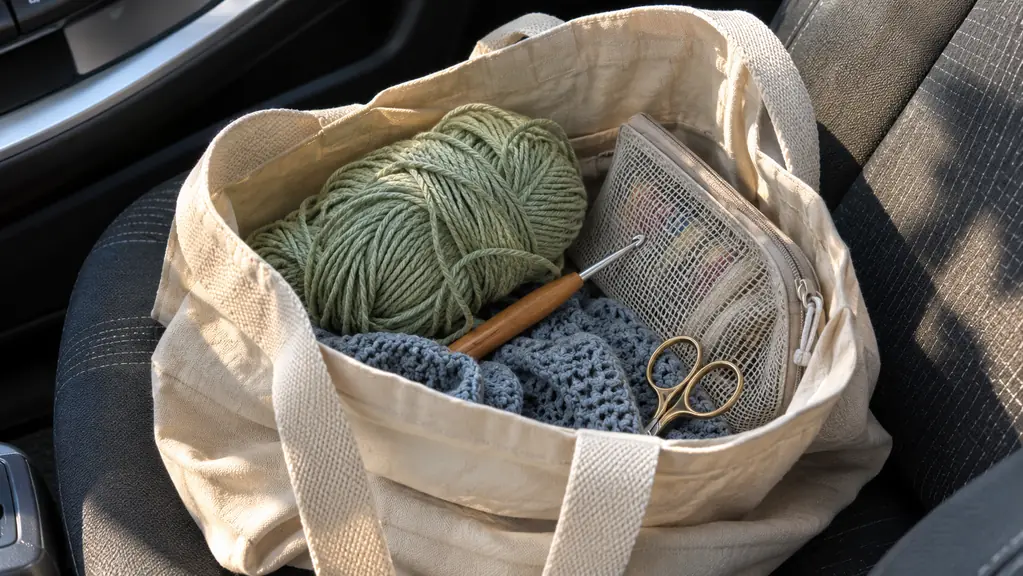
I keep the SINGER ProSeries scissors in the mesh pouch of my project bag so they are always within reach when a tail needs to be finished. If you are still biting yarn or using fingernail clippers, this is the simplest upgrade in the bag.
Amazon See the SINGER Scissors on Amazon →Step 1: Set Up a Clean, Stable Cutting Spot
Before you open the scissors, clear a spot the size of a saucer. I use the lid of my project bag or a folded dishcloth on the truck's passenger seat. The point is not a beautiful workspace. The point is that your yarn and your cutting hand are not fighting a slippery surface. Crumbs, grit and loose yarn fuzz are the enemies of a clean cut because they get between the blades and make the scissors chew instead of slice. I wash my hands with soap before I pick up yarn, or use a wipe when there is no sink. That one habit has done more for clean ends than any tool.
You also want light that comes from the side, not straight down. In the truck I use the window light and turn the work until the yarn tail casts a small shadow. At home I use a lamp to the left of my chair. When the light is flat, a fine yarn against a busy bag disappears, and you end up cutting by feel. Good light lets you see the exact spot where the tail leaves the last stitch. That is the spot you want, not a guess a half inch down the tail.
Finally, put the yarn down before you pick up the scissors. It sounds obvious, but most messy cuts happen when someone tries to hold the project, the tail and the scissors all at once. Set the project on the table, smooth the tail away from the work, and then pick up the SINGER scissors. The rubber handles give you a place to grip without squeezing hard, which matters on days when my right thumb and first two fingers are stiff from driving. I am not making a medical claim. It is just easier to control a tool when you are not white-knuckling it.
Step 2: Hold the Yarn Tail Under Light Tension
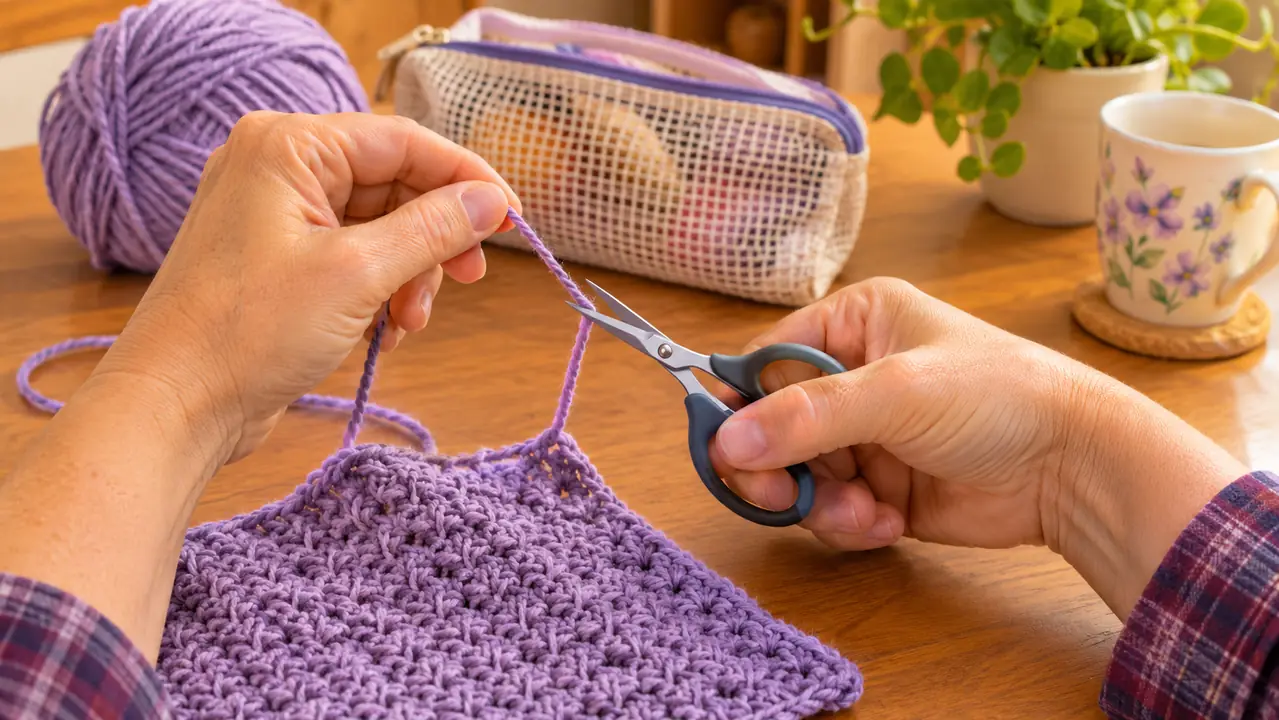
A clean cut needs tension, but not a hard pull. I pinch the tail between the thumb and index finger of my non-cutting hand and draw it just enough that the yarn stops curling. If you pull too hard, the yarn stretches thin at the cut point and springs back with a fuzzy end. If you do not pull at all, the blades push the yarn instead of biting it. The sweet spot is a gentle tug, like you are holding a thread steady for someone else to cut.
For a finished project, I hold the tail away from the last stitch so the cut end will sit on the outside of the work. For a starting tail, I hold it toward me and cut at an angle across the yarn, not straight across. An angled cut gives the yarn needle a point to grab when I weave the end in. That is useful with cotton dishcloth yarn, which can be dense and springy. The SINGER NANO Tip is fine enough that I can place the cut exactly where I want it, even when the tail is short. I do not use the tip to stab at the yarn. I open the blades, slide the yarn into the V, and close.
One limit: this only works on yarn that fits between the blades. If you are cutting a thick super bulky yarn or a bundle of several strands, the 4.5 inch detail scissors will not give you a clean cut in one squeeze. I make two or three small cuts around the bundle, or I use a larger pair of shears at home. The SINGER scissors are for tails, trims and detail work. I have not tried to use them as fabric shears and I would not.
Step 3: Place the NANO Tip Where You Want the Cut
The biggest mistake I see in my own work is cutting too far from the last stitch. A long tail is not a problem. A long tail that gets woven in wrong is a lump. I want the cut about a quarter inch from the base of the last stitch for a woven-in end, and about a half inch for a tail I will tie later. The NANO Tip lets me see the blade edge against the yarn, so I can put the cut where I decided, not where the scissors happened to land.
Slide the yarn into the blades until it sits near the pivot, not out at the very tip. The very tip is for snipping a single thread or a knot. If you put a full strand of worsted yarn at the tip and squeeze, the yarn can slide out and you get a diagonal crush instead of a cut. I learned that with cheap clippers. With the SINGER scissors, I open the blades wide, place the yarn about a third of the way in from the tip, and close with one smooth motion. The straight blade edge gives me a square cut for most tails.
Keep your cutting hand low and your wrist straight. I rest the side of my hand on the table or on the bag lid. That gives me an anchor and keeps the scissors from drifting while I close them. If your hands are tired, bring the work up to your eyes instead of leaning your head down to the work. On the truck I set the project on the seat and sit square to it. I do not crochet while driving, and I do not cut yarn while the truck is moving. I only do this when I am parked.
Step 4: Make One Clean Snip, Then Check the End
Close the scissors with one firm squeeze. Do not chew at the yarn with two or three little bites. A single close gives you a clean edge. If the blades are sharp and the yarn is under light tension, you will feel the cut more than you hear it. Then open the blades before you move the scissors away. If you pull the scissors away while they are still closed on the yarn, you can drag the cut end and fray it.
Look at the end. A clean cut is flat and square, with the yarn plies still together. A fuzzy end, a mushroom shape, or a tail that splits into separate plies means the blades crushed the yarn instead of cutting it. That can happen if the yarn was not under enough tension, if you cut at the very tip, or if there is lint in the pivot. I wipe the blades with a dry cloth after every few projects. I do not oil them and I do not put them away damp. The SINGER scissors have stainless steel blades and a matte finish, and they have stayed smooth when I keep them clean and dry.
If the end is not clean, do not keep snipping at the same spot. Cut a fresh quarter inch back and try again with more tension. It is better to lose a quarter inch of tail than to weave in a frayed end that will work loose. For a woven-in end, thread the clean tail onto a yarn needle and weave it through the back of the work. I use the bent tip FIVEIZERO needles for that. The cut matters because the needle has to pass through the end without dragging fuzz through the stitch.
Step 5: Store the Scissors So the Tip Stays Clean
A clean cut starts with a clean tool. I keep the SINGER scissors in a mesh pouch in my project bag, not loose in the bottom with hooks and needles. The NANO Tip is fine, and a fine tip is easy to bend or dull if it is knocking against metal hooks. The pouch also keeps lint and grit off the blades. At home, the scissors go back in the same pouch when I stop for the night. I do not leave them open on the table where a sleeve can catch them.
Do not use these scissors on paper, cardboard, packaging or fabric. Paper dulls a fine blade faster than yarn does, so I keep a separate pair for that. If you only have one pair, make a rule: the SINGER scissors touch yarn and nothing else. Wipe the blades with a dry cloth after a project, close them, and put them back in the pouch. The 4.63 inch length and 2.5 inch width make them easy to find in a small bag without taking the space of full shears. They weigh 1.12 ounces, so they do not add noticeable weight. I carry them with the BCMRUN hooks and two yarn needles in the Damero case, and that case lives in the truck during the work week.
What Else Helps
A good yarn needle is the next tool after the scissors. I use the bent tip FIVEIZERO needles to weave in the ends I just cut. A blunt tip needle will push through the yarn without splitting the plies, which is what you want for a woven-in tail. I keep two bent needles in the same mesh pouch as the scissors. The plastic needles and the storage box stay at home. If you are working on a project with many ends, thread two or three at once and weave them in at the end of the row. It saves you from stopping every few stitches.
A row counter helps in a different way. I use the Clover Mini Kacha-Kacha to count rows by hand click, never stitches inside a row. It rides in the mesh pouch too. When I am working on a hat or a blanket, I count rows so I know when to change colors or start the decrease. That is not about cutting yarn, but it is part of the same small bag system. If you are cutting tails on a blanket, you will have a lot of them, and a counter keeps you from losing your place while you stop to trim.
Light and a small tray matter more than people think. A light from the side shows the tail against the work. A small tray or the lid of the project bag gives you a place to lay the scissors down without losing them in the couch cushions. I use the lid of the Damero case in the truck and a saucer at home. The point is to have a landing spot every time. If you put them down on the arm of a chair, you will eventually sit on them or drop them. I have not lost a pair, and I would like to keep it that way.
The SINGER NANO Tip is fine enough to place a cut a quarter inch from the last stitch, and that is the difference between a tail that disappears and a tail that lumps.
Keep the clean cut within reach
The scissors live in my mesh pouch because a clean tail is a habit, not a special occasion. If your bag is missing a dedicated pair, the SINGER ProSeries 4-1/2 inch scissors is the one I use on every project. They are for yarn tails and detail trims, not for fabric or paper.
Amazon See the SINGER Scissors on Amazon →